
Build a Garden Tower Tips and Tricks
Small moves that compound into a tower that actually climbs.
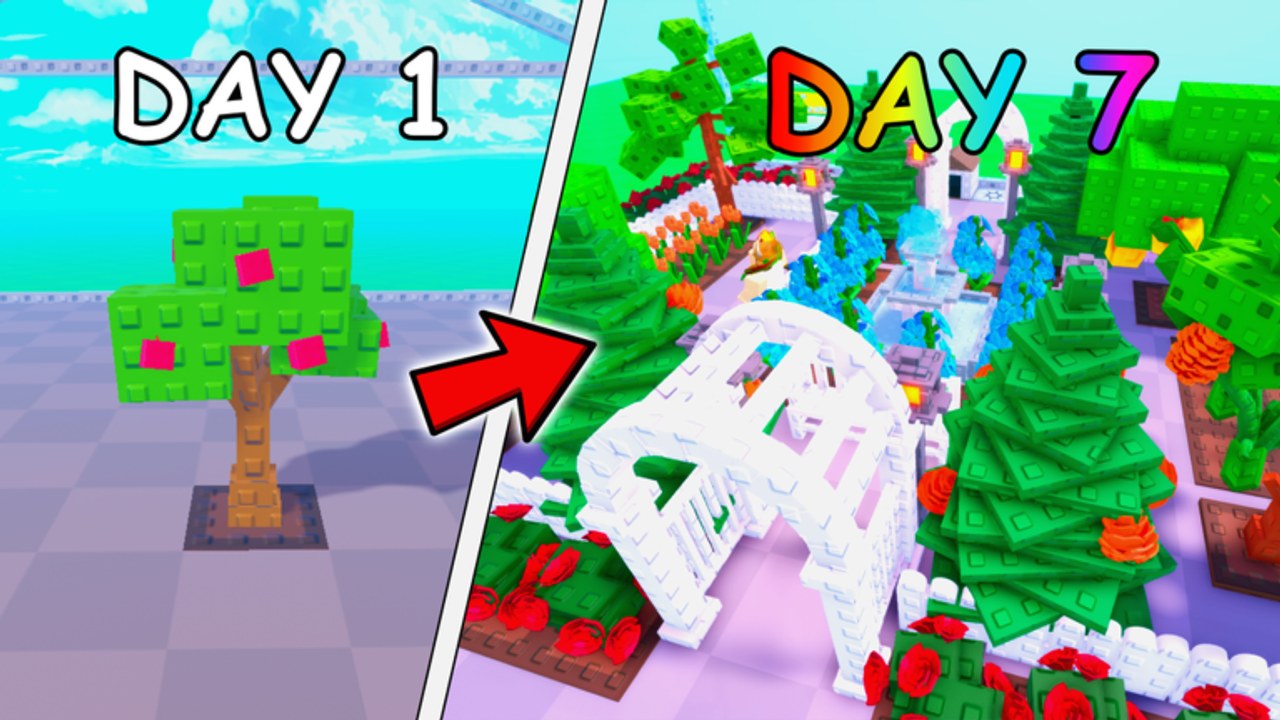
Most players hit the same walls at the same stage: a full storage bar they do not know how to fix, a shop restock they cannot rank, and a floor they bought but never planted. This page collects the micro-adjustments that separate a stalled farmer from one whose HUD rate actually moves each session.
These are not script shortcuts. They are decisions you make with your eyes open.
Harvest timing
Sell before you think you need to. The moment storage hits about two-thirds, forage and crate space start competing. A clean sell before either action is better than a panic sell when the bar is yellow.
Auto Collect owners: sell between ticks. Auto Collect fires every two minutes. If you AFK for twenty minutes and come back to a full bar, the pass filled it and then stopped. Five ticks of fruit you never sold is five ticks of income you never banked. Pair the pass with a sell habit.
Morning harvest is real. If you play at the same time each day, the first action should be a full sell lap, not a forage walk. Cash compounds faster when the pile is clean before new fruit lands.
Shop restock discipline
Test one, clone the winner. When a restock appears, buy exactly one of the new plant and put it on your worst plot. Wait one growth cycle. If cash-per-second moved, clone it. If it did not, sell it and skip the restock.
Never buy a restock you cannot plant today. Empty plots earn nothing. If you cannot fill the new purchase before you log off, save the cash for a floor upgrade instead.
The expensive row is not always better. High price in the shop means the plant costs more to buy, not that it earns more per cycle. Compare tooltips, not price tags.
Foraging efficiency
One loop, then stop. A second forage lap with a filling bar is walking for the sake of walking. The roll does not improve because you are persistent. If the first loop gave nothing, storage was the problem, not distance.
Water features hide nodes. The koi pond, the indoor stream, the edge sprinkler — those are the highest-density forage spots in official art. Walk them last so the roll lands when storage is emptiest.
x2 Forage Luck owners: still sell first. The pass doubles the chance of a drop. It does not guarantee one. A doubled zero is still zero if the bar is full.
Floor and layout
Buy floors before you think you need them. The upgrade cost does not decrease. Cash that sits in your pile waiting for “the right moment” is cash that is not earning on a new plot. If every current plot is filled and you can afford the next floor, buy it today.
Keep one path lane per floor. Auto Collect harvests without walking, but you still sell, forage, and check tooltips by hand. A floor with no walking lane forces jumps through glass, and jumps miss prompts on mobile.
Rotate huge models, do not delete them. A torii that clips through the railing is ugly. A torii that blocks the collect prompt is a bug. Rotate first; delete only if rotation does not fix the hitbox.
Storage hygiene
The bar has three owners: fruit, forage, crates. When one fills, the others back up. If you forage every session and open crates every session, fruit still has to sell or the bar will jam all three.
Trophy plants in inventory are wasted slots. If a rare is sitting in the bag because you have no plot for it, you are paying for storage twice: once for the bag and once for the full bar that stops new drops. Sell it or plant it, do not park it.
+200 Storage owners: still sell. The pass raises the ceiling. It does not change the habit. A player who never sells will eventually hit any cap.
Session structure that actually works
A 30-minute session in order:
- Sell everything — clean the bar before anything else.
- Check codes — ten seconds, even when the table is empty.
- Fill empty plots — starter plants, not trophies.
- Buy floor if affordable — only if you can plant it now.
- One forage loop — only if storage is under two-thirds.
- One crate — only if storage is under one-half.
- Screenshot cash-per-second — the only honest scorecard.
If the screenshot matches the start of the session, you decorated. Go back to step one.
What looks like progress but is not
- A pagoda roof on a $1/s HUD.
- A full inventory of crate plants you never planted.
- A second floor with three plants and two benches.
- x2 Forage Luck bought before every plot was filled.
- A rare forage find that is still sitting in the bag.
None of those move the rate. The money guide has the full version of this list.
The compounding rule
Every session: sell clean, fill plots, buy height, rank one restock. That order, every time, is how the $1/s shed becomes the $67M/s tower. The tricks are small. The repetition is the skill.
Frequently Asked Questions
Quick answers to the most common questions.
How often should I sell in Build a Garden Tower?
Every time you pass the sell prompt. Storage has three owners (fruit, forage, crates) that compete when the bar fills. Clean bar first, then everything else.
Should I buy a floor before or after filling current plots?
After. An empty floor is a flex, not income. Fill every current plot first, then upgrade only if you can plant the new glass the same session.
Is Auto Collect worth it if I sell regularly?
Only if you AFK in-server. If you are walking plots anyway, Auto Collect is a quality-of-life purchase, not a progress purchase.
Why did my cash-per-second not move after buying a new plant?
The plant was still in its growth cycle, or its tooltip was worse than your worst plot. Test one, wait a full cycle, then clone or sell based on the result.